
The flushing process
This is a high-level overview of flushing. Refer to Module 4 – Maintenance – Flushing regime for detailed information.
Remember:
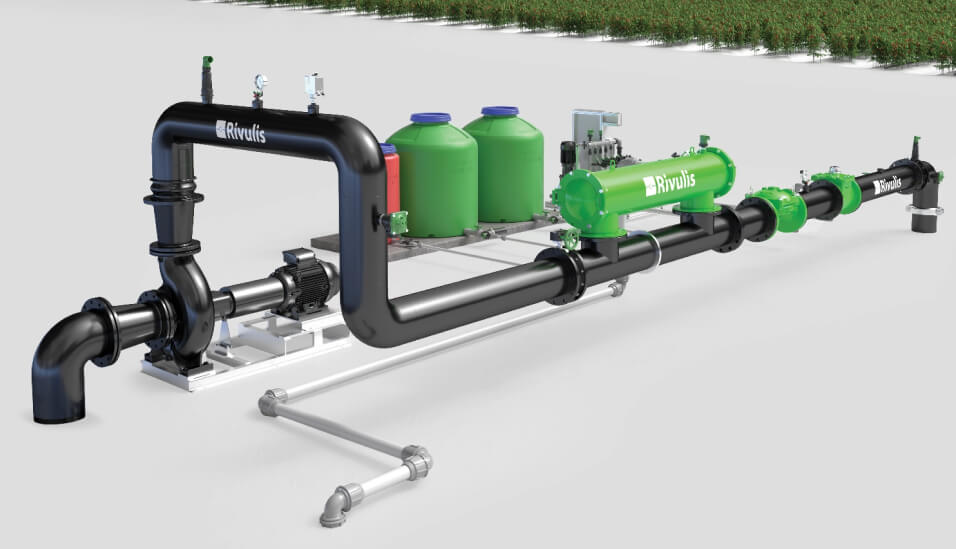
Before starting the pump, make sure that all necessary valves are open, including at the main control head.
1. Open the mainline flushing valves individually with submain valves closed until discharge water runs clear for three to five minutes.
Note: In large systems, dye can be added in the filter station – when the dye is no longer visible at the end of the line, flushing is complete.
2. Close the mainline flushing valves.
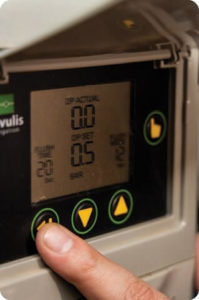
3. Check for continuity in the pressure readings for a period of time. If there are any variations, check for any leakages in the mainline.
4. Open the submain valves and open the submain flushing valves individually and operate until the discharge water runs clear for three to five minutes.
5. Close the submain flushing valves.
6. Perform a pressure test and leak test on submain lines the same way as done for the mainline.
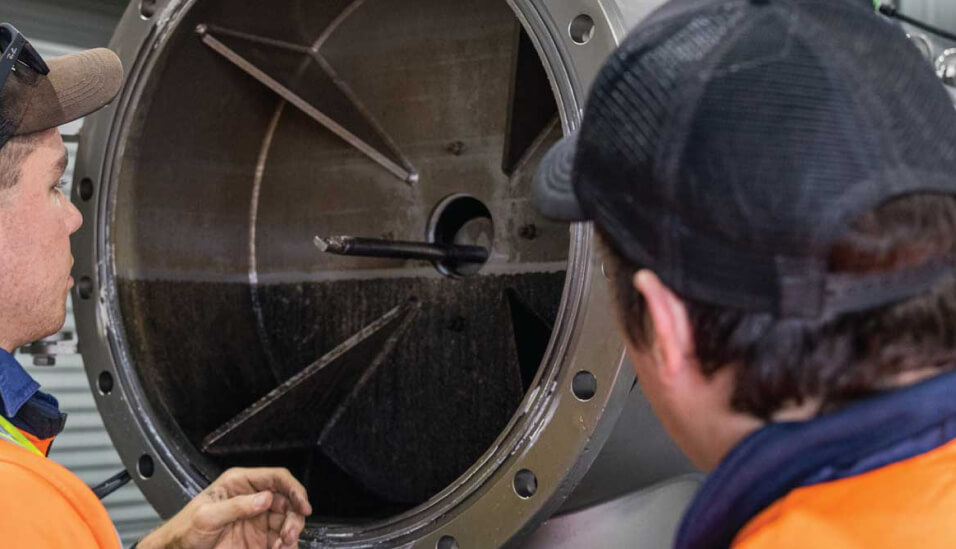
7. At this stage, you need to back-flush the filters, in particular if you are using media filters.
New sand in media filters contains fine particles that do not wash out during the manufacturing process. These particles restrict flow and must be back-washed out as soon as possible.
Usually, up to 0.2 bar (3 psi) maximum differential across the filter bed is acceptable. A larger differential may indicate more back-washing is necessary.
More information pertaining to filter back-flushing is found in Module 4 – Maintenance – “Filters”.
8. With the end of the drip laterals open, open the control valve of the block. Run until the discharge water at the end of each lateral runs clear.
If the capacity of your water supply is not high enough to flush all laterals simultaneously, with sufficient velocity, it may be necessary to terminate some of the laterals so that you can flush only a few laterals at a time.
For drip laterals, you need to achieve a minimum water velocity of 0.3 m/sec (1 ft/sec). To measure this velocity, see the water velocity and flushing section in Module 4. However, as a rule of thumb, closing ~75% of drip laterals of a block and keeping ~25% only open will generally ensure adequate velocity.
9. Inspect the quality of the water being expelled. Poor quality water could indicate that the filters are not operating correctly.
In all cases, inspect that water is being expelled from every drip lateral. This is particularly important if you are using a flushing manifold, as this is your only chance to inspect each lateral before it is connected. Never connect the lateral to a flushing manifold, or close a lateral, until you see that water comes out.

10. Close the block control valves.

11. For each block, once you see water being expelled, and if you are using a flushing manifold, at this time you can connect to the flushing manifold and you need to flush the flushing manifold by opening each section individually. Keep the flushing manifold valve open.