


Maintenance – media filtration
Media filtration has limited moving parts, but the media in particular requires monitoring and maintenance.
Install a flow control valve
To make maintenance easier, we recommend the installation of a flow control valve on the back-flush line to moderate the back-flush flow. If the back-flush flow is too high, it can take the media with it. If it is too low, the back-flush will not be enough to lift the media during the cleaning process.
The level of flow depends on the type of the media. Setting the flow control valve requires a bit of trial and error.
Have a person in place to inspect the water that will be expelled from the back-flush.
Initiate a manual back-flush sequence.
Slowly increase the level of back-flush flow with the flow control valve. When the person sees media being expelled, reduce the flow a bit, ensuring that no further media is being expelled.
Remember:
If you use just a manual valve, the flow rate will be for that specific flow and pressure condition. It does not adapt to changes of pressure or flow. Therefore, you need a flow control valve with a pilot to regulate it.
Whenever media is added/replaced (including the first use)
First, before adding the media:
1. Inspect the conical diffusers (mushrooms). Are they in a good state? Are they properly tightened? Is the gasket/rubber grommet for each diffuser still in a good condition?
2. For arm collector models, inspect for damage. Fix any issues before proceeding. It is recommended to fill the tank 50% with water before adding the media. If you add the media without the water, you can damage the arm collectors.
3. Fill with water and test for leaks.
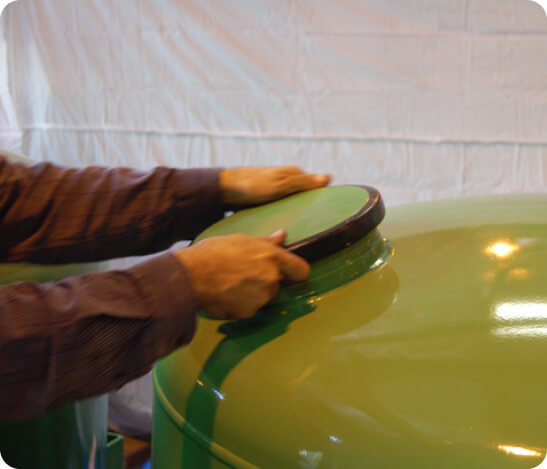
When the above is okay, you can fill the tanks with media to the required level.
Conduct an initial back-flush for every tank to wash out any dust/fine dirt from the media. This also allows you to test that the whole array is functioning. Repeat the back-flushes until the back-flush water is clear.
Checking the media
The media needs to be periodically checked for:
1. quantity – is there still sufficient quantity? Some media can be lost during back-flushing
2. quality – over years the media can become blunt and needs to be replaced.
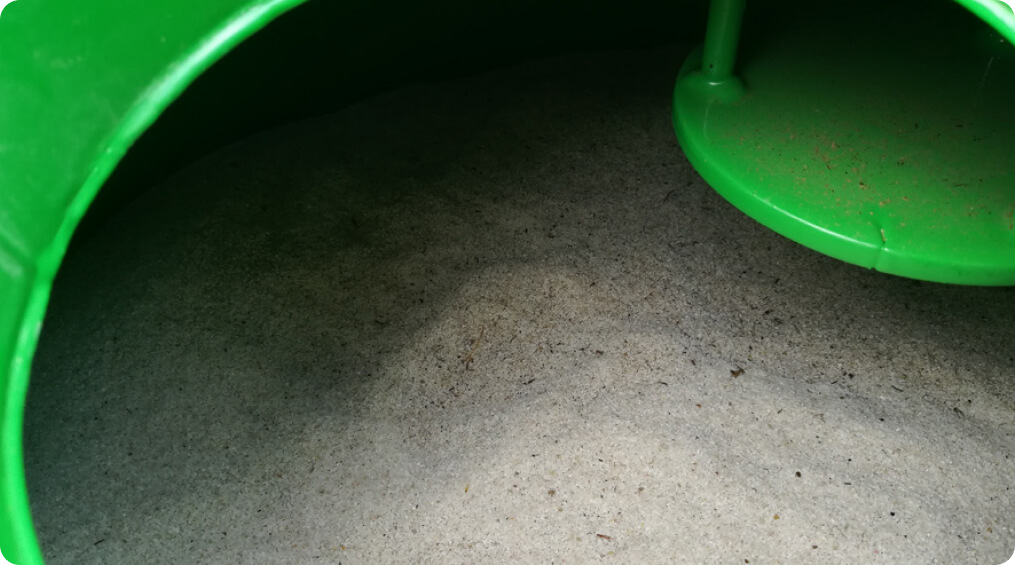
Signs that the media quality is still good
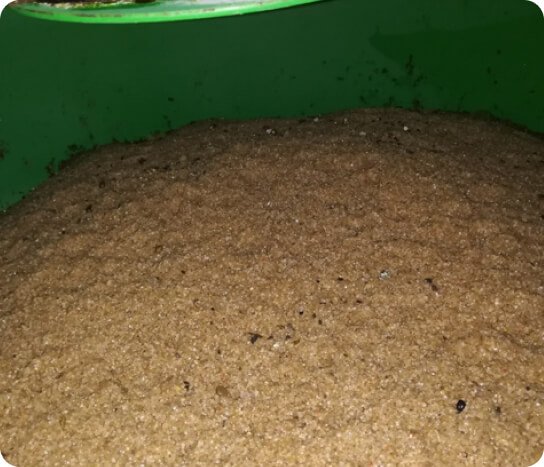
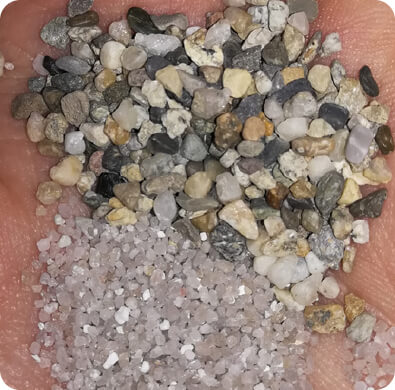
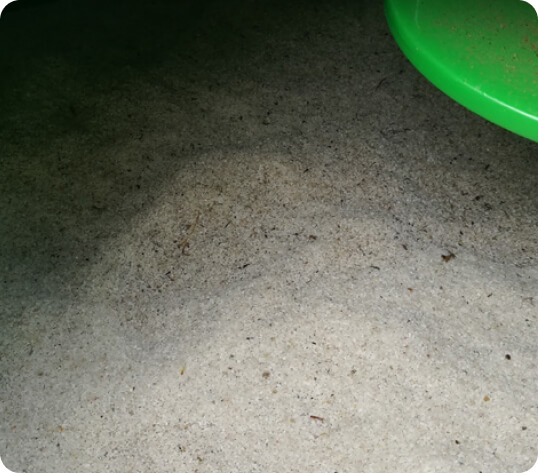
- Media grains are loose in the tank
- Media grains have sharp edges

Signs that the media needs replacing
- Caking is observed
- Media grains are blunt (similar to beach sand)
During the season
- Monitor the quality and quantity of media (see above).
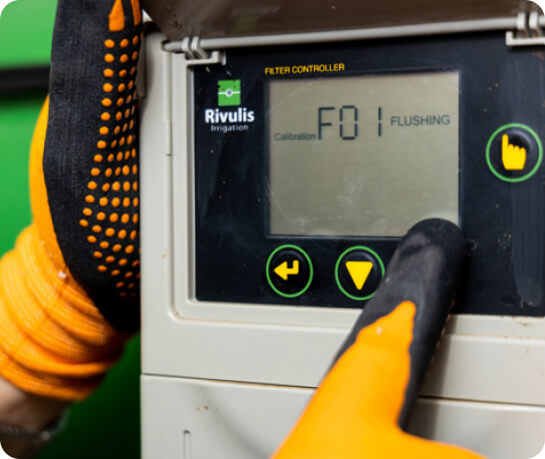
- Ensure that the back-flush mechanism is working correctly. It should occur when the pressure differential increases by 0.2–0.5 bar (3.0–7.5 psi) above the pressure loss of a clean filter. It should also back-flush on a timed interval, between three and four hours.
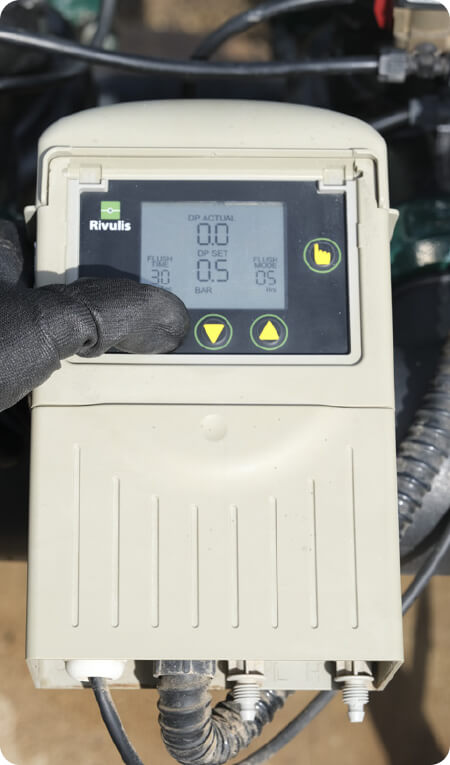
- For a clean filter (after back-flush), ensure that there is not more than 0.2 bar (3 psi) pressure differential.
- Check the back-flush (flow-limiting) valve to ensure that during back-flush, media is not being expelled. If you see this happening, you need to reduce the flow rate of the backflush via the flow control valve and most likely replace the lost media.
Yearly
Chlorination of the filter is recommended at the end and the beginning of each season. Below are standard guidelines, but consult your user manual for your specific filter.
- Close the array’s inlet and outlet valves.
- Empty the filters to ½ full of water.
- Use a common chlorine such as sodium hypochlorite (NaOCI) for each filter according to the table supplied by the filter manual.
- Add water to each filter until it is 10 cm (4”) above the media surface layer.
- Wait for 30 minutes, then perform two back-flush cycles (without opening the outlet valve).
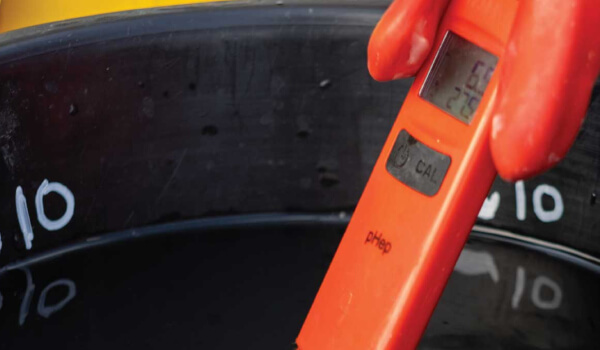
Chlorine is dangerous and its use should be in compliance with LOCAL safety LAWS/REGULATIONS. To learn about the health and environmental hazards and the required safety means read the safety data sheets of such materials. Please also refer to the oxidizing treatment guidelines.
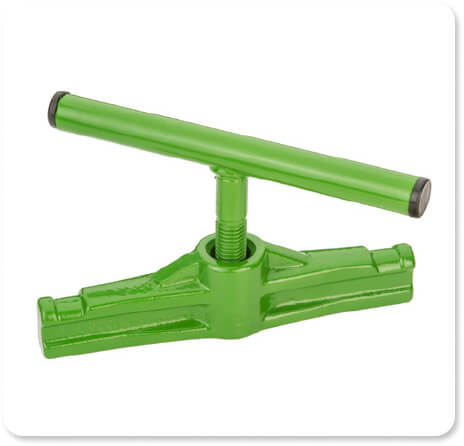
Grease the thread of the handle.
Inspect and clean the manual screen filter included within the media filter array.
Perform all the tasks stated in “During the season” to ensure correct operation.